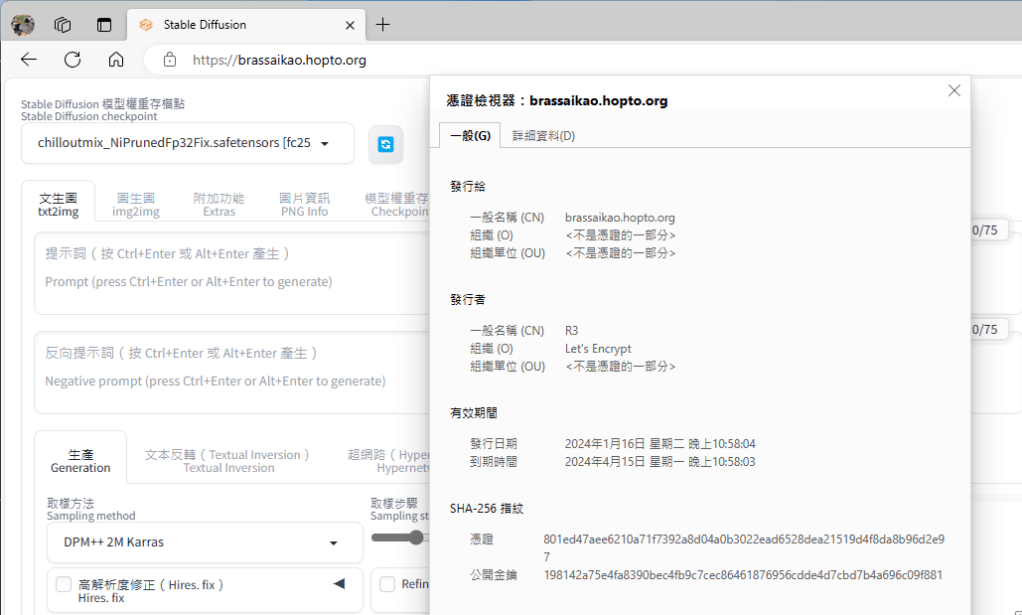
使用 Let’s Encrypt 推薦的 CertBot 來建立自動定期更新的 certification 憑證,再於 Nginx 設定 Https 並指到該憑證所在位置即可。
注意事項
1. Nginx 的 Http Server 要關掉,以避免 CertBot 無法正常更新憑證
2. 要針對憑證的原檔( C:\Certbot\archive\{YOUR_DOMAIN_NAME}\*.pem )開權限,否則重開機之後ngnix就會因為憑證的讀取權限不足而無法載入
Nginx Https configurate in \conf\nginx.conf file :
 #  HTTPS server

    server {
        listen       443 ssl;
        server_name  localhost;

        ssl_certificate      C://Certbot//live//{YOUR_DOMAIN_NAME}//fullchain.pem;
        ssl_certificate_key  C://Certbot//live//{YOUR_DOMAIN_NAME}//privkey.pem;

    #    ssl_session_cache    shared:SSL:1m;
    #    ssl_session_timeout  5m;

    #    ssl_ciphers  HIGH:!aNULL:!MD5;
    #    ssl_prefer_server_ciphers  on;

        location / {
    #        root   html;
    #        index  index.html index.htm;

            proxy_pass http://127.0.0.1:7860; # YOUR APP SERVER LOCAL URL
            proxy_redirect off;
            proxy_http_version 1.1;
            proxy_set_header Upgrade $http_upgrade;
            proxy_set_header Connection "upgrade";
            proxy_set_header Host $host;
        }
    }
Leave a comment